As all of us know, that the Windows Server Essentials 2012R2 (and also 2012 and 2011) has a RD Gateway installed and is working by default. This is a great functionality and my personal opinion is that users use it a lot. However, the only thing that is missing is the management console to configure it. I miss it a lot.
It is not difficult to install it and you can do it with the command dism /online /Enable-Feature:Gateway-UI (run it from the administrative command prompt).
After this, you will be able to configure all settings that are available in standard Windows Server product.
The complete Microsoft article about all this functionality is available here..
Category: Essentials Server
Step-by-step DC migration from SBS 2003 to Essentials 2012R2
Almost all of us, administrators of SBS servers, did a migration from one version to another several times. But in this moment we have at least two problems: SBS doesn’t exist anymore (and we have to do a hybrid deployment) and the new situation – the Essentials server 2012R2 doesn’t have a migration mode. So, I decided to write a blog how to migrate the SBS 2003 AD to the Essentials Server 2012R2 step by step.
Maybe in this steps there is a restart that is not really necessary, but please, do it. This is the only way that grants you success to migrate the AD and finally install the Essentials role successfully. Take your time and go through this steps:
- Start with uninstalling or disabling features of the SBS 2003. The first thing to do is to uninstall the ISA server (if it is installed – not covered in this article) and run the Connect to internet wizard again.
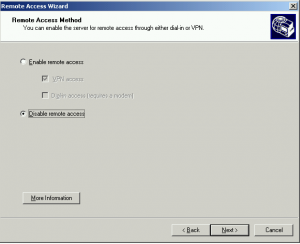
- Restart the SBS Server. If you have enabled the VPN, run the Configure Remote Access Wizard and disable the VPN access. Don’t forget it! You will not be able to disable it later!
- Shutdown the SBS Server and remove the second NIC (the NIC that is connected to Internet).
- Add the router to the network and configure the port redirection (for now to the SBS server – you need this step because you must receive E-Mails, grant remote access,…Do not forget to forward ports 80, 443, 25 and 987 – not covered in this article).
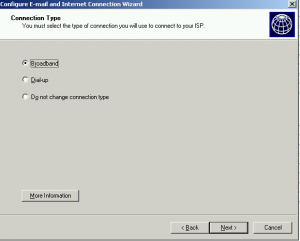
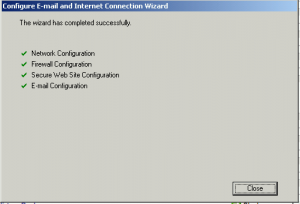
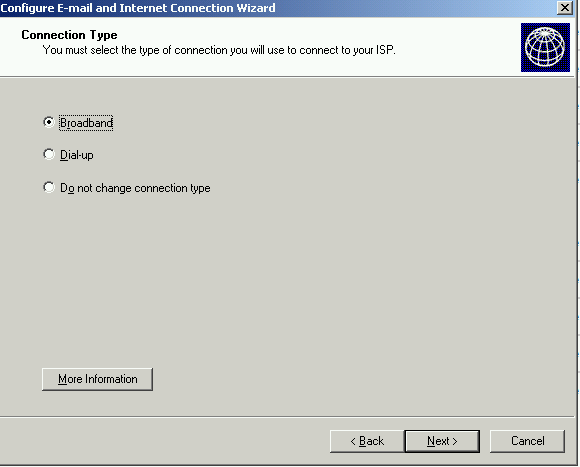
- Start the SBS Server and run the Connect to Internet Wizard again:
- Select the Broadband connection.
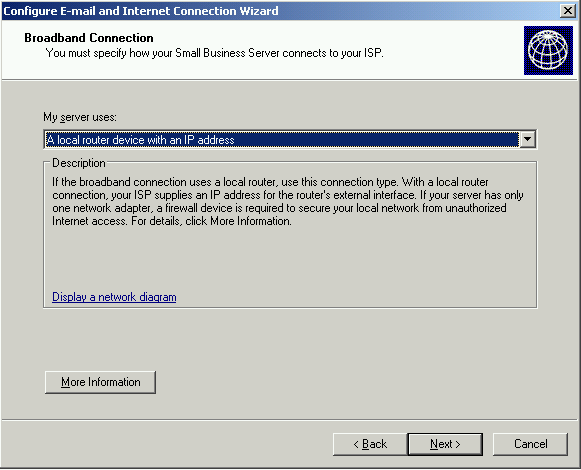
- From the dropdown menu select I have a router device with an IP address.

- Add DNS names from your ISP and the gateway address (the IP of the router).
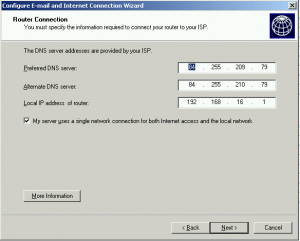
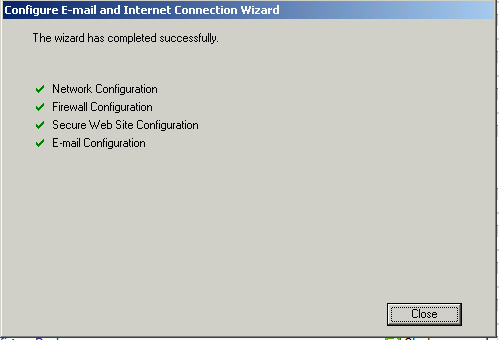
- Finish the wizard with defaults settings.
- Select the Broadband connection.
- From C:\Windows\Sysvol\Sysvol\DomainName\scripts delete the SBS_LOGIN_SCRIPT.bat file. This file is present in any SBS user as logon script and you have to delete it from all of the users as well.
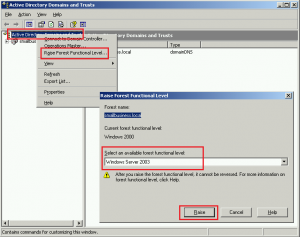
- Form the Start Menu > Administrative tools, start the Active Directory Domains and Trusts. In the left panel, right click on Active Directory Domains and Trusts and select Raise Forest Functional Level. Raise the forest level to the Windows Server 2003 version.
- Restart the SBS Server.
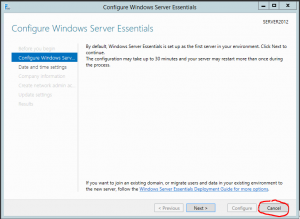
- On the Essentials server, on the Configure Windows Server Essentials wizard, press Cancel.
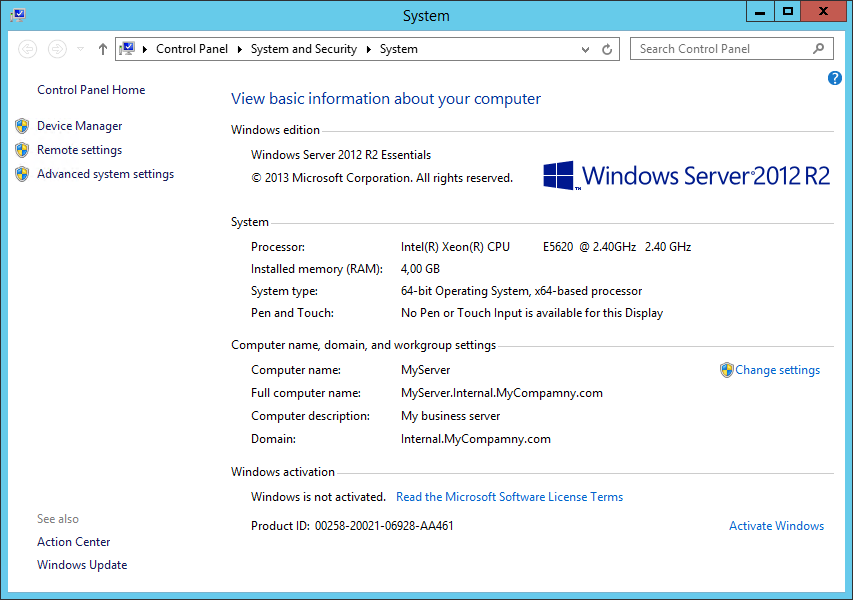
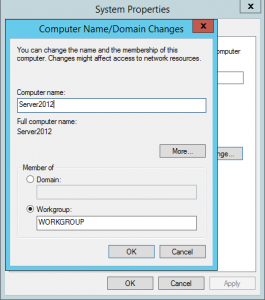
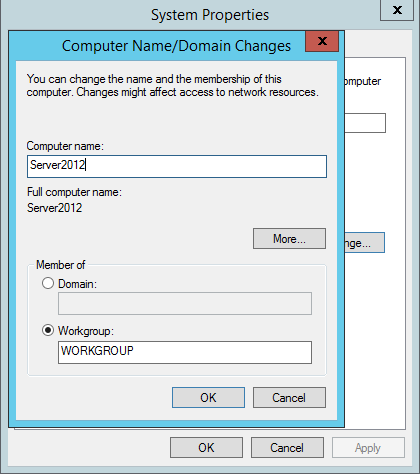
- Open the Control Panel > System and Security > System and change Computer name. Leave the compute member of workgroup. Be careful: you have to rename the computer in this step, you cannot rename it after the Configure Windows Server Essentials wizard is finished.
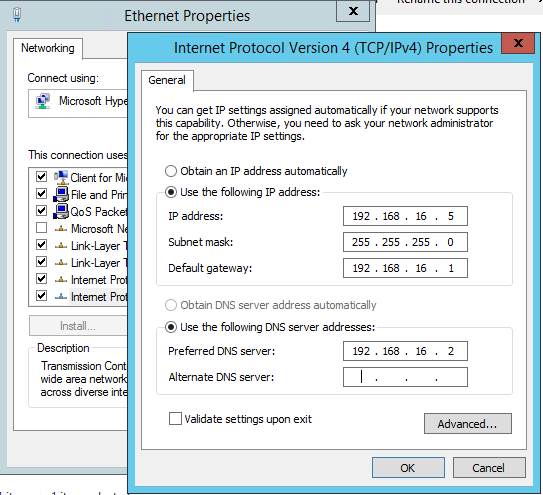
- My suggestion: From Start > Run type ncpa.cpl, right click on the network connection. Select properties and configure the static IPv4 address. As a DNS server, add a SBS Server IP address.

- Restart the Essentials Server.
- Open the Server Manager (not Dashboard!) and select Add roles and features. In the Add Roles and Features Wizard, install the Active Directory Domain Services role.
- Restart the Essentials server.
- On the Configure Windows Server Essentials wizard, press Cancel again and start the Server Manager again.
- From Server Manager > Notifications (up right corner) run Promote this server to a domain controller task.
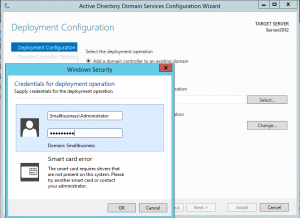
- When the wizard is open, on the first page select Add a domain controller to an existing domain and enter the SBS admin credentials. When you will confirm this credentials, the Domain field will fill automatically. Click Next.
- The next step is to enter the DSRM password (complex, 8 or more characters) and be careful to check the checkbox of the DNS server! Click Next.
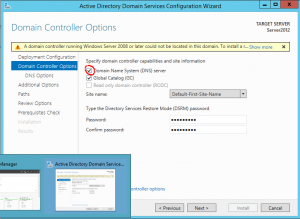
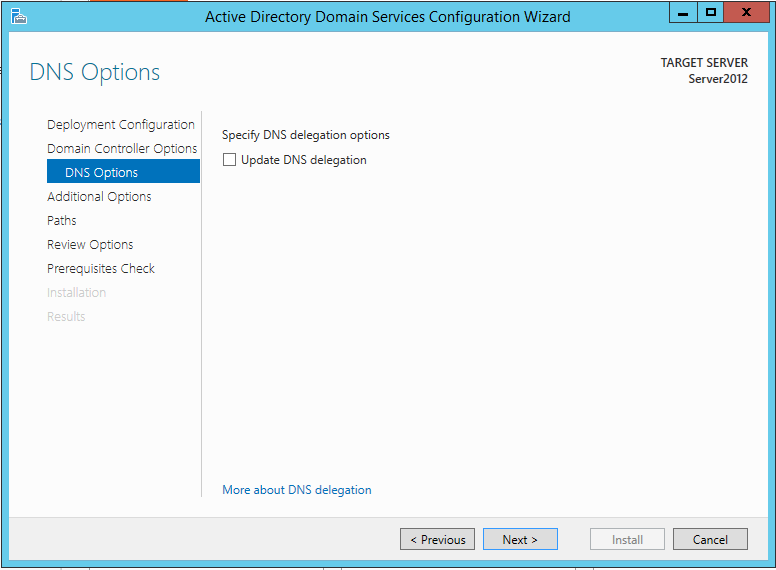
- Clear the checkbox on Update DNS delegation and click Next.

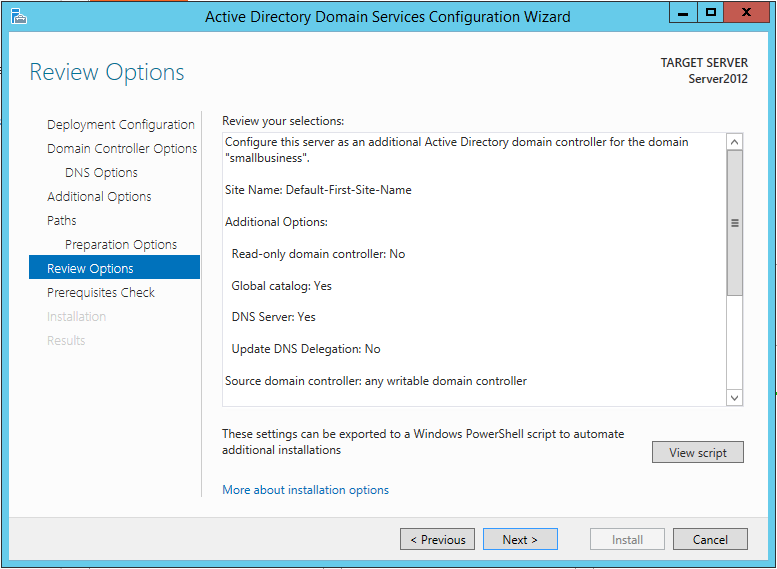
- In the next few steps click Next. In the Review Options check that all options are OK and click Next once again.

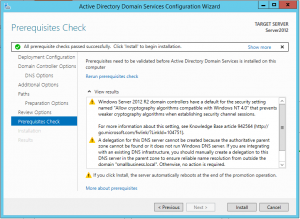
- In the Prerequisites Check step, you will receive some warnings. This is nothing serious and you are ready to promote this server as an additional DC in the SBS domain. Click Install.
- During the installation, the domain schema and the forest schema will be automatically upgraded. The process could take a while. After the installation is finished, the server will restart.
- Logon to the server with the SBS administrator domain credentials.
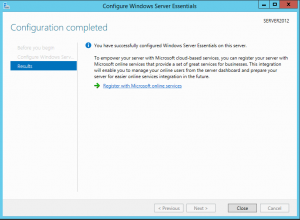
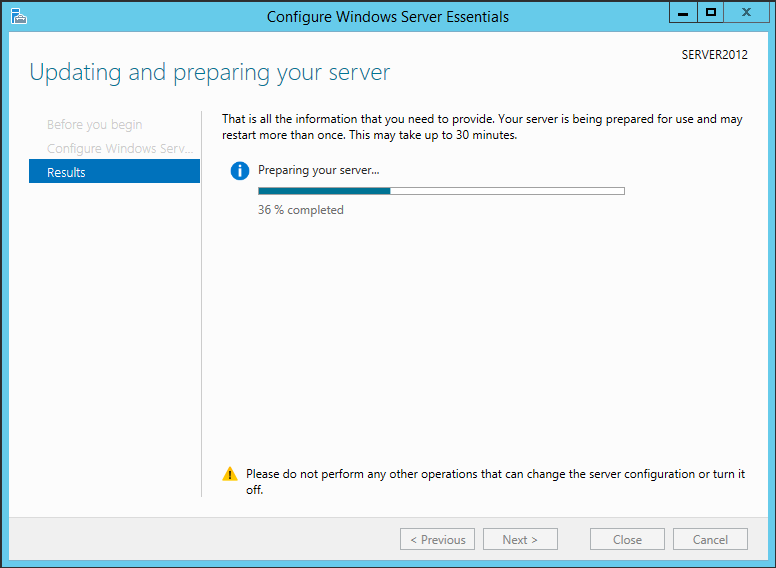
- Complete the Configure Windows Server Essentials wizard.

- My suggestion: Install the DHCP server on the Essentials Server. Do not use the router as DHCP server. Check forwarders in the DNS server. You have to use only the ISP DNS servers as forwarders or, if you prefer, you could not use any forwarder.


At this point, the Essentials Server 2012R2 is added as an additional DC in the SBS domain. Be careful, because you have only 21 days to complete the migration and you still have a lot of work. You have to transfer all the shared folders data, the Exchange mailboxes, the SharePoint data,… Please do not forget to control and change some settings on the GPO. Remove some GPO (some are set strictly for the SBS).
Be aware, that all workstations have to be added to the “new” domain once again true the connect site.
Be careful also when you will turn off your old server. You cannot just turn it off. You have to uninstall at least the Exchange and the DC role, but I prefer to uninstall all the installed roles, remove the server from the domain (make it part of a workgroup) and after this I turn it off.
Please let me know if you want me to write additional blog posts on migrating other functionalities of SBS..
How to transfer all FSMO roles to a different server
In any AD there are five FSMO roles. Two are unique for the entire forest and three are for any domain. If you have a smaller environment, with only one domain in the forest, this domain hosts all five roles. If you have to change DCs, then you have to transfer all five FSMO roles to new servers. Here are all the steps how to transfer all roles, one by one.
At the beginning, you have to be sure, that the replication between all DCs is working well. You can check this with Active Directory Replication Status Tool .
Now, if it is working well, you can begin with the process to transfer all AD roles to servers that you want:
- Open Command prompt as Administrator.
- To find where roles are currently hosted, type NETDOM QUERY FSMO.
- Now you know where the roles are situated and you are ready to begin transferring the roles. At the command prompt, type NTDSUTIL.
- Type ROLES.
- Type CONNECTIONS to enter in the connection mode.
- Type CONNECT TO SERVER <ServerName> (where <ServerName> is the name of the Destination Server).
- Type Q for leaving the server connections mode.
- Type TRANSFER PDC for transferring the PDC role to the connected server and then click Yes in the Role Transfer Confirmation dialog box.
- The same step can be done for transferring other rules.
- Use TRANSFER INFRASTRUCTURE MASTER for transferring the Role Infrastructure Master Role, TRANSFER NAMING MASTER for the Naming Master role, TRANSFER RID MASTER, for the RID Master and TRANSFER SCHEMA MASTER, for Schema master role.
- When you have done, just type Q and press ENTER until you return to the command prompt.
Windows Server 2012 and 2012R2 documentation
Microsoft did a good work with Windows Server 2012 and 2012R2 documentation. They put together all TechNet documentation to one PDF document, so now you can have concentrated all the server documentation in one single file. It is complete, easy to find (OK, there are approximately 8000 pages…) and all in one place. Very nice.
This file is downloadable from TechNet by clicking this link..
Step-by-step install Windows Server Essentials 2012 R2 with non local domain
As the best practice of the latest few years, .local domain is not a good way to be deployed in any environment. The main reason for this is that since November 1 2015, will end the ability to have .local domains in public certificates. This will also apply in small environments, because we also use that certificates (for example we use them in Remote desktop services, Exchange, Remote web workplace…). On the other way, it is also not a good choice to have the internal domain name the same as the external. I would suggest you, for the internal domain name, to choose some kind of subdomain of the public domain name. For example, we can use company.com as public (external) domain name and internal.company.com as internal (Active Directory) domain name.
When you install the Essentials Server 2012R2, you will not be able to choose the internal domain name as you want, but this is simply your NetBIOS domain with.local extension in the end – exactly the type of extension we want to avoid.
Here is the step-by-step guide how to install Essentials server with different, more accurate options. In the example we have below, we will install Essentials server with NetBIOS domain name MyCompany, AD domain name Internal.Mycompany.com, server name MyServer and company name MyCompany. In your installation, you have to change the variables to your desired values.
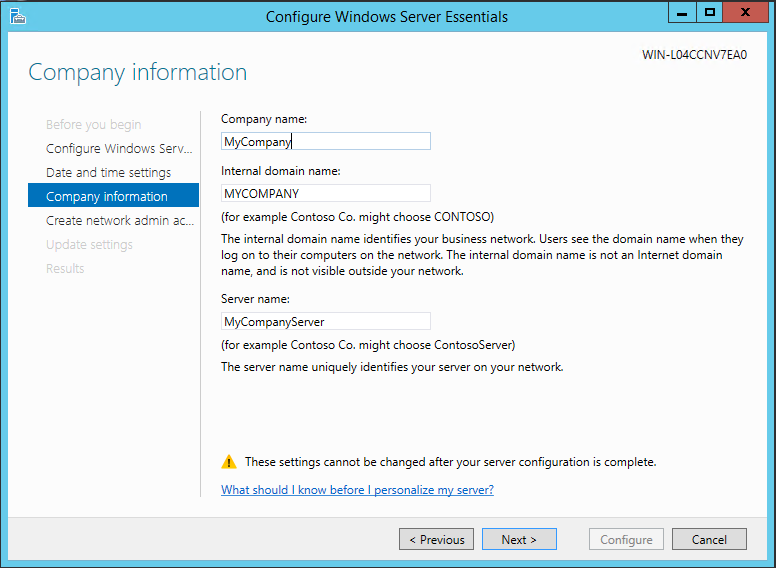
The installation begins with a normal server installation from a media and after the server restarts, when the Configure Windows Server Essentials wizard will appear, you can see that you have no place to write your AD domain name (picture 1).
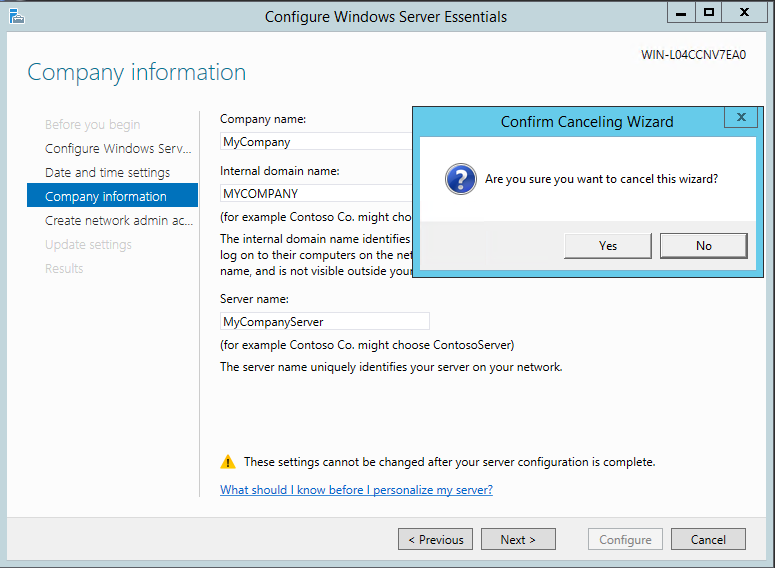
At this point, just close this wizard with cancel (picture 2).
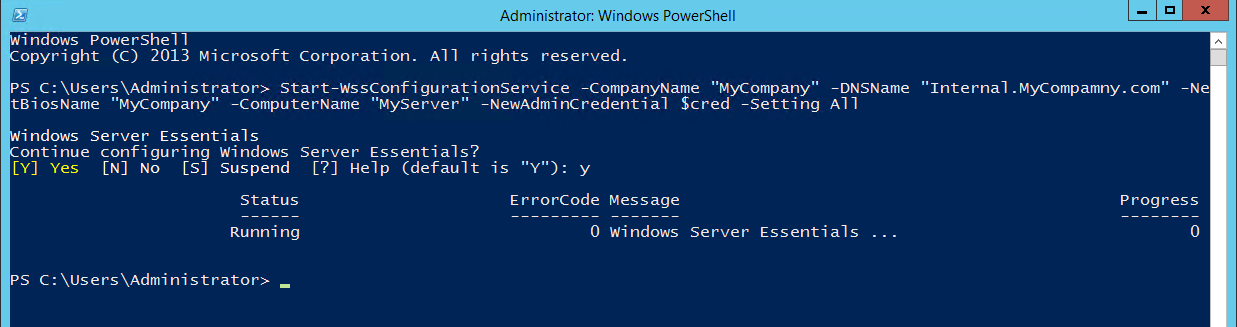
Open the PowerShell as Administrator and write the syntax:
Start-WssConfigurationService -CompanyName “MyCompany” -DNSName “Internal.MyCompamny.com” -NetBiosName “MyCompany” -ComputerName “MyServer” –NewAdminCredential $cred -Setting All
The explanation of all used switches is available on TechNet. Enter your AD administrator credentials in the window that will appear. This will be the new administrator – the same as you configure it in the Essential server wizard (picture 3).

When the system will prompt, if you want to continue the Essentials server configuration, just click Y (picture 4).
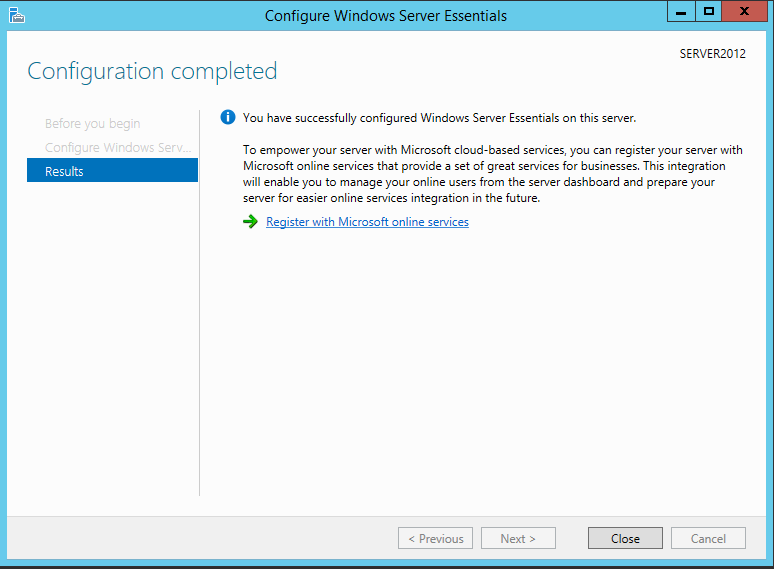
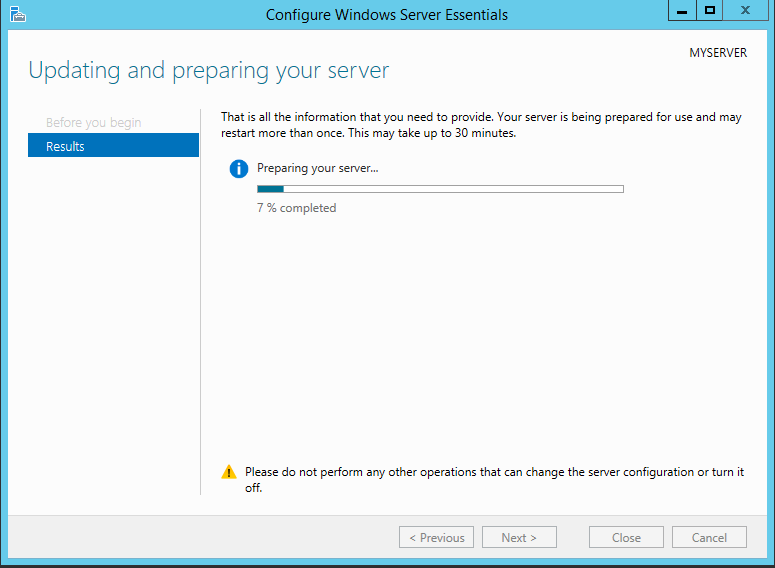
Exit from PowerShell and the server will restart. After this, when you log in, you will see that the wizard Configure Windows Server Essentials will run. You have just to wait that it will finish. At this point the wizard has all the information it needs and you are not able to change them (picture 5).
This is all you need to do. As you can see in the picture 6, now we have installed the server with a non .local domain and with all the settings we want.